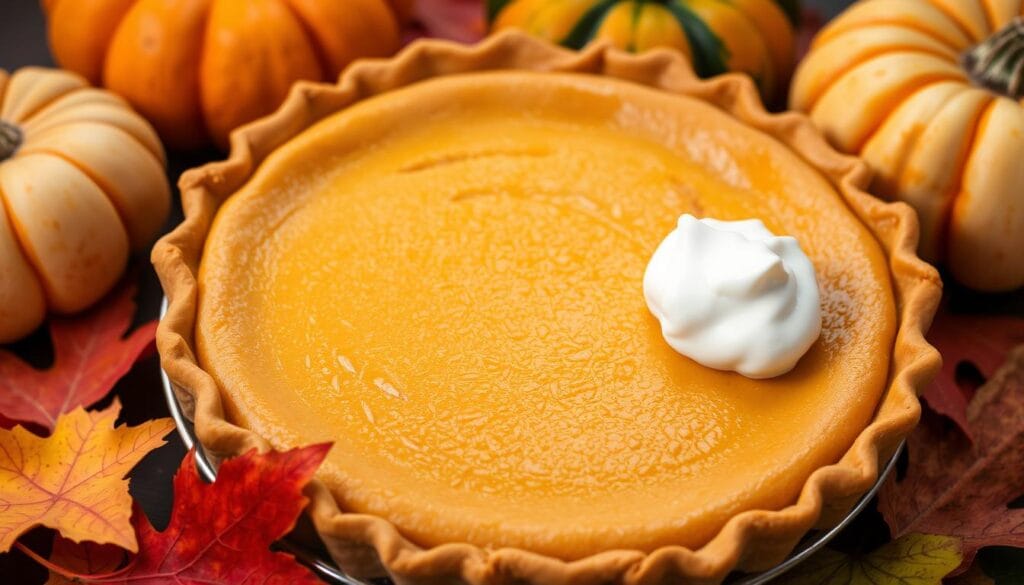
Creamy Pumpkin Pie Recipe with Sweetened Condensed Milk
Imagine walking into your grandmother’s kitchen. The smell of spices fills the air. You can’t wait for that first slice of pumpkin pie. This easy recipe with sweetened condensed milk is more than a dessert. It’s a piece of nostalgia that over 2,600 home bakers love.
Making the perfect pumpkin pie is about more than following a recipe. It’s about creating a moment of joy that brings families together. With a few simple ingredients and quick prep, you’ll make a dessert that looks like it’s from a pro bakery.
Table of Contents
Key Takeaways
- Simple 6-ingredient recipe perfect for beginners
- Over 2,600 five-star ratings confirm its deliciousness
- Creamy texture guaranteed by sweetened condensed milk
- Quick preparation time of under an hour
- Versatile dessert for holidays and special occasions
Why This Condensed Milk Pumpkin Pie is Special
Finding the best pumpkin pie recipe is more than just taste. It’s about making baking easier. This homemade pumpkin pie with condensed milk is a game-changer for dessert lovers.
Making a delicious pie doesn’t have to be hard. With the right ingredients and methods, you can turn a classic recipe into something amazing.
Time-Saving Benefits
Using sweetened condensed milk saves a lot of time. Traditional recipes need many steps for sweetening and getting the right texture.
- Eliminates separate sugar measuring
- Reduces ingredient preparation time
- Simplifies the overall recipe process
Superior Creamy Texture
The secret to a smooth homemade pumpkin pie with condensed milk is its texture. Sweetened condensed milk adds a rich, velvety feel that makes the pie stand out.
“A perfect pie is all about achieving that dreamy, silky smooth filling that melts in your mouth.” – Baking Enthusiast
Perfect for Beginners
If you’re new to baking, this recipe is a great start. The condensed milk method makes it easy and ensures tasty results every time.
| Ingredient | Traditional Method | Condensed Milk Method |
|---|---|---|
| Sugar Content | 3/4 cup granulated sugar | 220g sugar in condensed milk |
| Preparation Time | 30-40 minutes | 20-25 minutes |
| Difficulty Level | Intermediate | Beginner-Friendly |
This recipe makes baking easier and reduces mistakes. So, even beginners can make a pie that looks and tastes like it was made by a pro.
Essential Ingredients for Your Perfect Pie
Making a traditional pumpkin pie recipe means picking the right ingredients. Your pie’s success depends on quality parts that blend well. This mix creates a tasty dessert.
Now, let’s look at the key ingredients for an amazing pie:
- Pumpkin Puree: Use a 15-ounce can of pure pumpkin puree (not pumpkin pie filling)
- Sweetened Condensed Milk: A 14-ounce can of Eagle Brand for rich, creamy texture
- Large eggs for binding and structure
- Aromatic spices to capture the traditional pumpkin pie flavor
The spice blend is key for a true pumpkin pie taste. Here’s the perfect mix:
| Spice | Amount |
|---|---|
| Ground Cinnamon | 1 teaspoon |
| Ground Ginger | 1/2 teaspoon |
| Ground Nutmeg | 1/2 teaspoon |
| Salt | 1/2 teaspoon |
You’ll also need vanilla extract and optional toppings like whipped cream. Each part is important for a memorable pie. It will impress your family and friends.
“The secret to an outstanding pie lies in using fresh, high-quality ingredients.” – Baking Enthusiast
Kitchen Tools and Equipment Needed
Making a tasty pumpkin pie needs some key kitchen tools. Whether you’re new to baking or have lots of experience, the right tools make the process easier and more fun.
Must-Have Baking Items
Every baker needs a few basic tools for the perfect pumpkin pie. Here are the must-haves:
- 9-inch or 10-inch pie dish
- Large mixing bowl
- Whisk or sturdy spatula
- Measuring cups and spoons
- Wire cooling rack
Optional but Helpful Tools
While not essential, these tools can make baking your pumpkin pie better:
- Stand mixer or hand mixer
- Pie weights for blind baking
- Pastry brush
- Kitchen scale for precise measurements
Measuring Equipment
Getting the measurements right is key for pumpkin pie filling with sweetened condensed milk. Get good measuring tools:
- Liquid measuring cups with clear markings
- Dry measuring cups with level edges
- Nested measuring spoon set
“Precision is the secret ingredient in baking” – Professional Baker’s Wisdom
You don’t need fancy tools to make a great pumpkin pie. A willing spirit and basic kitchen tools are all you really need!
Step-by-Step Pumpkin Pie Recipe with Sweetened Condensed Milk
Making a tasty pumpkin pie is easy. This simple recipe with sweetened condensed milk will make your baking fun. It will also wow your family and friends.

- Gather all ingredients at room temperature
- Prepare your pie crust
- Mix filling ingredients thoroughly
- Bake using the special temperature method
This recipe needs the right mix of ingredients. It’s all about finding the perfect flavor and texture.
| Ingredient | Quantity | Purpose |
|---|---|---|
| Pumpkin Puree | 1 cup | Base of filling |
| Sweetened Condensed Milk | 14 oz can | Creamy sweetness |
| Eggs | 2 large | Binding and structure |
| Spice Blend | 2-3 teaspoons | Flavor enhancement |
“The secret to an incredible pumpkin pie is in the details and love you put into each step.” – Baking Enthusiast
When mixing, make sure everything is well combined. Whisk the pumpkin, sweetened condensed milk, eggs, and spices until smooth. Then, pour it into your pie crust for a silky filling.
Baking needs a special temperature trick. Start at 350°F for 25 minutes. Then, raise it to 375°F for a golden top. This way, your pie will be perfect in texture and color.
Tips for Achieving the Perfect Pie Crust
Making a delicious homemade pumpkin pie with condensed milk starts with a great pie crust. A flaky, golden crust can make your pumpkin pie recipe with sweetened condensed milk truly amazing.
The secret to a perfect pie crust is in a few key techniques. Cold ingredients and minimal handling are key for that flaky texture.
Blind Baking Secrets
Blind baking prevents a soggy bottom in your pie crust. Here’s a foolproof method:
- Chill your pie crust for 30 minutes before baking
- Preheat the oven to 425 degrees Fahrenheit
- Line the crust with parchment paper
- Fill with pie weights or dried beans
- Bake for 15 minutes
Crust Troubleshooting Guide
| Problem | Solution |
|---|---|
| Shrinking Crust | Chill dough before rolling and avoid stretching |
| Tough Crust | Handle dough minimally and use cold butter |
| Burning Edges | Cover with aluminum foil during baking |
Pro tip: For a truly remarkable homemade pumpkin pie with condensed milk, invest time in preparing your crust carefully. Your guests will definitely notice the difference!
“A perfect pie crust is the foundation of an unforgettable dessert.” – Baking Experts
How to Tell When Your Pie is Done
Mastering the perfect easy pumpkin pie recipe means knowing when it’s done. For the best pumpkin pie, watch for several key signs.

- Visual Cues: Look for a slight puffing of the filling and a darker, more set appearance
- Temperature Test: Use a digital thermometer to check internal temperature
- Jiggle Method: Gently shake the pie to assess filling consistency
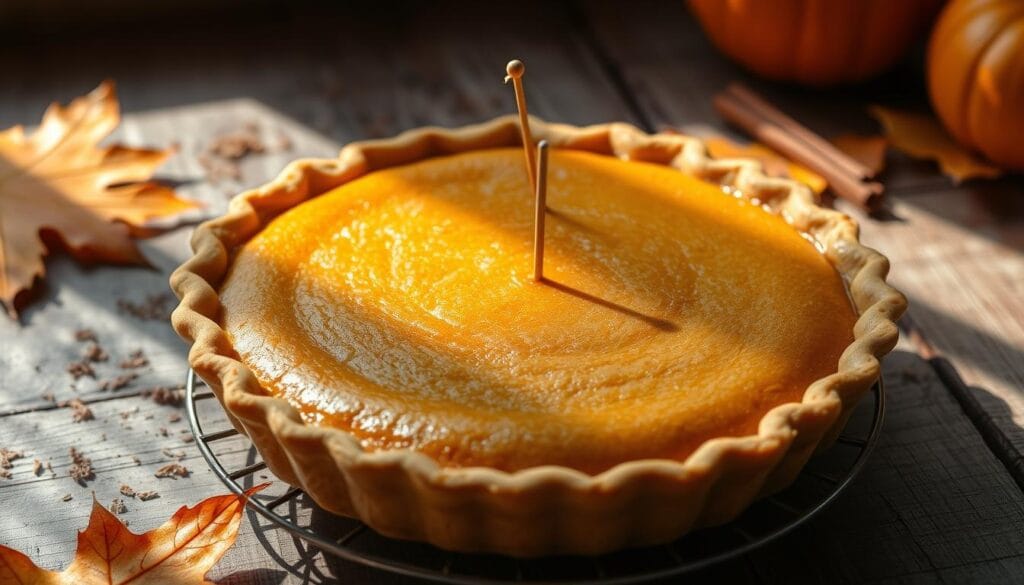
Professional bakers say to check the pie’s internal temperature. It should be 180°F for a perfectly baked custard pie. If you insert a toothpick near the edge, it should come out clean. This means the filling is fully set.
| Doneness Indicator | What to Look For |
|---|---|
| Color | Dark, rich golden-brown surface |
| Movement | Slight jiggle, like soft jello |
| Temperature | 180°F internal temperature |
“The perfect pie is all about patience and careful observation.” – Baking Experts
Remember, your pie will set more as it cools. Let it cool for at least 2 hours before serving. This ensures the best texture and flavor in your homemade pumpkin pie.
Storage and Make-Ahead Instructions
Keeping your classic pumpkin pie fresh is key. Follow these steps to keep it safe and tasty.
Refrigeration Guidelines
Let your pie cool down completely, which takes about three hours. Then, it’s time to refrigerate it. The USDA says to keep egg-rich pies like pumpkin in the fridge for safety.
- Store in an airtight container
- Refrigerate within 2 hours of baking
- Keep for up to 4 days
- Maintain consistent temperature at 40°F or below
Freezing Methods
Freezing is a great way to prep your pie for holidays. It’s easy to keep your dessert fresh.
- Wrap pie tightly in plastic wrap
- Cover with aluminum foil to prevent freezer burn
- Freeze whole pie for up to 3 months
- For individual slices, freeze for 2 hours before wrapping
Pro tip: Thaw frozen pie in the refrigerator overnight for best results.
“A well-stored pie is a delicious pie!” – Baking Experts
Serving Suggestions and Toppings
Your simple pumpkin pie recipe can become a stunning dessert with the right toppings and presentation. The perfect finishing touches can make your pie unforgettable.

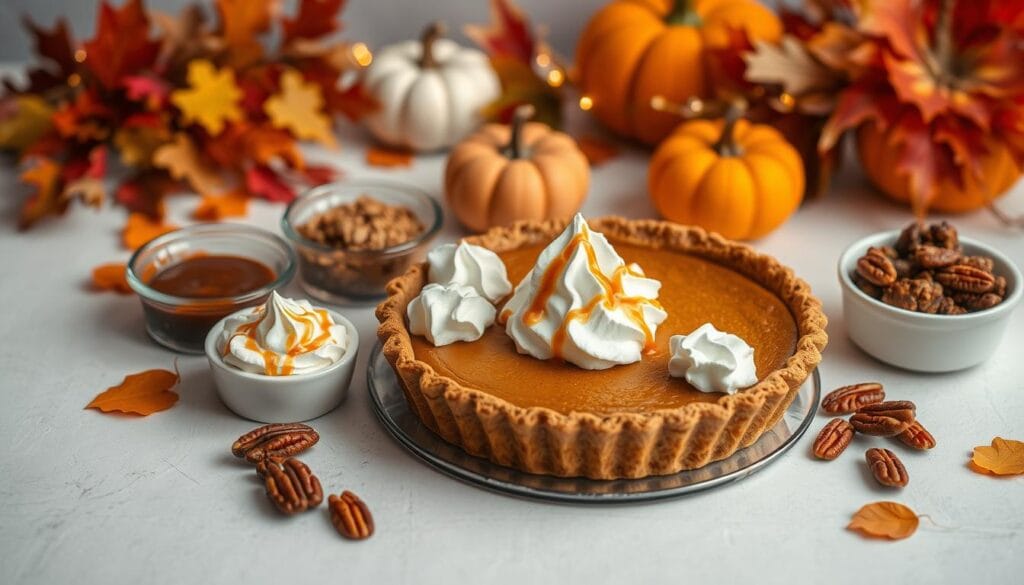
- Freshly whipped cream (a family favorite)
- Mascarpone cream for a luxurious twist
- Vanilla ice cream scoop
- Sprinkle of ground cinnamon or nutmeg
For an elegant look, try these creative serving ideas:
- Dust lightly with powdered sugar
- Create decorative whipped cream rosettes
- Garnish with candied pecans
“A beautiful garnish can transform a simple pumpkin pie into a culinary masterpiece.” – Baking Enthusiasts Magazine
Chill the pie for at least 4 hours before serving. This lets flavors blend and ensures a perfect slice. Each serving has about 238 calories, making it a delightful yet manageable dessert.
The secret to an amazing pumpkin pie is not just baking. It’s also in the artful presentation that makes your guests excited.
Common Baking Mistakes to Avoid
Baking the perfect pumpkin pie recipe needs focus and avoiding common mistakes. Knowing these errors helps make a tasty pumpkin pie with sweetened condensed milk every time.
Here are the most critical errors to watch out for when preparing your pumpkin pie:
- Milk Mixture Mistake: Never substitute evaporated milk for sweetened condensed milk. They are entirely different products that will dramatically change your pie’s texture and sweetness.
- Avoid using pumpkin pie filling instead of pure pumpkin puree, which can make your dessert overly sweet and mess up the spice balance.
- Check your oven temperature with a thermometer to ensure accurate baking conditions.
Baking temperature and timing are crucial for your pumpkin pie’s success. Most home bakers face challenges in achieving the perfect consistency.
| Baking Challenge | Solution |
|---|---|
| Overmixing Batter | Mix ingredients just until combined to prevent cracking |
| Oven Temperature | Start at 400°F for 15 minutes, then reduce to 325°F for 40 minutes |
| Pie Doneness | Look for slight wobble in center, firm edges; internal temp 175°F |
“Precision is the secret ingredient in creating the perfect pumpkin pie.” – Professional Baker’s Wisdom
Pie plate selection can also impact your baking results. Metal plates heat quickly and are preferred by professional chefs. Glass and ceramic plates retain heat longer, potentially extending cooking times.
With these tips, you’ll turn your pumpkin pie recipe with sweetened condensed milk into a delicious success!
Conclusion
Your homemade pumpkin pie with condensed milk is more than a dessert. It’s a journey that turns simple ingredients into a masterpiece. The secret to the best pumpkin pie recipe lies in mastering key techniques and using top-notch ingredients.
With just five main ingredients and little prep time, you’ve found a simple way to make a show-stopping dessert. The sweetened condensed milk adds a creamy texture that makes this pie stand out. It offers a rich, smooth taste that’s both comforting and indulgent.
Baking is all about practice and patience. Each pie you make will help you get better, until you’re making desserts as good as the pros. This pumpkin pie recipe is perfect for holidays or weekend treats, becoming a favorite in your kitchen.
Enjoy the fun of baking, trust your gut, and relish every bite of your homemade pie. Your baking adventure is just starting, and delicious moments are ahead!


