Easy Starbucks Cake PoP Recipe :
starbucks cake pop recipe :Do you love desserts? Starbucks’ cake pops are a favorite for many! These moist vanilla cake bites, covered in smooth white chocolate, are the perfect treat. The best part? You can make them at home for a fraction of the cost!
In this article, you’ll learn how to create Starbucks-style cake pops with just a few simple ingredients. For about $8, you can whip up 24 cake pops—that’s just $0.35 per pop compared to Starbucks’ $3.75. Let’s get started!
Table of Contents
Key Takeaways
- Recreate the popular Starbucks cake pops at home for a fraction of the cost
- This recipe yields 24 cake pops using a simple white cake mix and vanilla frosting
- Homemade cake pops cost only $0.35 each, compared to Starbucks’ $3.75 per pop
- Learn the essential techniques for creating the perfect cake ball consistency and smooth candy melt coating
- Discover creative variations and decorating ideas to personalize your cake pops
Introduction to Starbucks-Style Cake Pops
Discover the joy of making your own Starbucks-style cake pops at home. These treats are a fun and affordable way to enjoy a favorite coffee shop snack. You can make them without spending a lot of money.
Why Make Cake Pops at Home
Making your own cake pops saves money and lets you customize them. Starbucks charges $3.75 for each pop. But, making them at home costs just $0.35. This makes them a great, affordable choice.
Cost Comparison: Homemade vs. Store-bought
One cake mix can make about 30 cake pops, costing less than $0.35 each. Starbucks would charge $112.50 for the same amount. Making them at home saves a lot of money.
What Makes These Cake Pops Special
These homemade cake pops have a soft center and smooth candy coating, just like Starbucks. You can use the recipe to make classic flavors or try new ones. They’re perfect for parties, gifts, or just enjoying at home.
Essential Ingredients for Perfect Cake Pops
To make the best Starbucks-inspired cake pops at home, you need a few key ingredients. Start with a simple vanilla cake mix, a 15.25 oz box is best. This mix makes your cake pops moist and fluffy.
You’ll also need powdered sugar, vanilla extract, and light pink candy melts for the smooth coating. Don’t forget white nonpareil sprinkles for a festive touch.
If you have dietary restrictions, like gluten sensitivity, use a gluten-free cake mix. The other ingredients stay the same. This way, you can enjoy these treats without worrying about your diet.
| Ingredient | Quantity | Purpose |
|---|---|---|
| Vanilla Cake Mix | 15.25 oz box | Provides the cake base |
| Powdered Sugar | 1/2 cup | Adds sweetness and structure |
| Vanilla Extract | 1 tsp | Enhances the vanilla flavor |
| Light Pink Candy Melts | 12 oz | Creates the smooth coating |
| White Nonpareil Sprinkles | 1/4 cup | Adds a festive finishing touch |
| Lollipop Sticks | 30 pieces | Supports the cake pops |
With these cake pop ingredients, you can make perfect Starbucks-style treats at home. The vanilla cake mix and candy melts are key. They give you a moist cake and a silky coating.
“The secret to making the best cake pops is all in the ingredients. Once you have the essentials, the rest is just pure deliciousness.”
Required Kitchen Tools and Equipment
To make tasty cake pop treats at home, you need some key baking equipment and kitchen essentials. With the right tools, you can make your cake pop creations look and taste like they came from a pro bakery.
Basic Tools Needed
- Mixing bowl
- Stand mixer with paddle attachment
- Baking pan
- Cookie scoop
- Cake pop sticks
Optional Equipment for Better Results
- Cake pop maker
- Foam block for drying
- Double boiler for melting candy
- Microwave-safe bowl (for melting candy as an alternative)
The cake pop maker makes shaping and baking cake balls easy. A foam block helps dry the coated cake pops securely. A double boiler melts candy evenly. If you don’t have one, a microwave-safe bowl works too.
With these baking equipment and kitchen essentials, you’re ready to make amazing cake pops. They’ll be just as good as those from your favorite coffee shop.
Step-by-Step starbucks cake pop recipe
Learn to make delicious Starbucks-style cake pops at home with this simple cake pop tutorial. This DIY cake pops recipe is perfect for both experienced bakers and beginners. It will show you how to make professional-looking cake pops.
- Begin by baking the cake mix as the package says. Let the cake cool down completely before you start the next step.
- Crush the cooled cake into a big bowl. Mix in the frosting until it’s smooth and dough-like.
- Use a cookie scoop or your hands to shape the cake mix into small balls. Put them on a parchment-lined baking sheet. Freeze them for 15-20 minutes to firm up.
- While the cake balls are freezing, melt the chocolate candy coating. You can use a double boiler or microwave, stirring often until it’s smooth. Dip the lollipop sticks into the melted chocolate, then insert them into the frozen cake balls.
- Put the cake pops back in the freezer for another 15-20 minutes. This will set the sticks in place.
- Dip the cake pops into the melted candy coating. Let any extra coating drip off. Add your favorite toppings, like sprinkles or crushed cookies, right away.
- Put the coated cake pops on a parchment-lined baking sheet. Let them set at room temperature for 30 minutes to an hour.
Once the cake pops are set, they can be kept at room temperature for up to 3 days in an airtight container. Enjoy your homemade Starbucks-inspired treats!
| Prep Time | Cook Time | Servings | Calories |
|---|---|---|---|
| 30 minutes | 30 minutes | 12 Cake Pops | 170 kcal per serving |

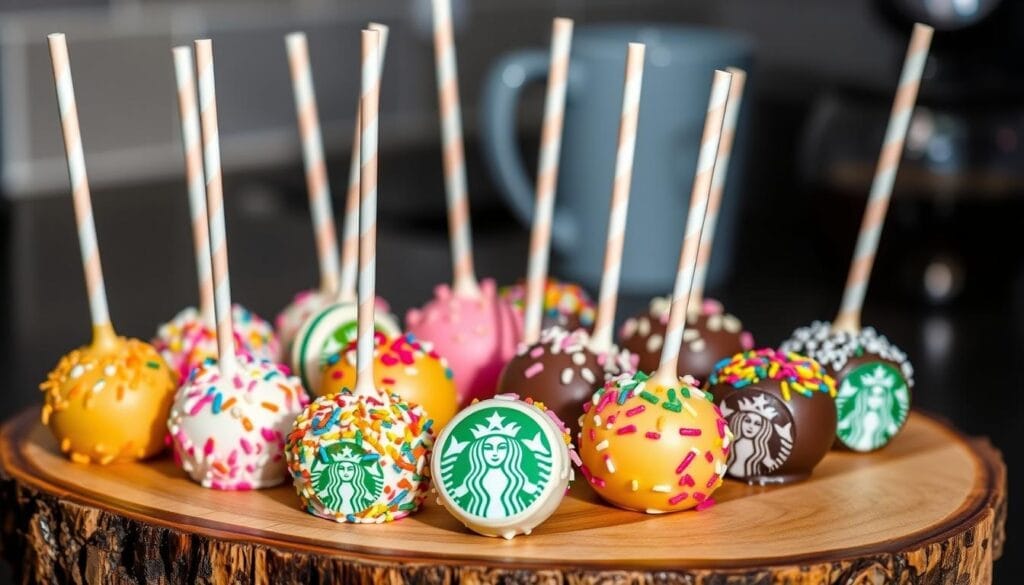
Starbucks cake pops come in a variety of flavors, including classic chocolate, pastel pink, unicorn, peppermint brownie, and earth cake.
Mastering the Cake Ball Mixture
Creating the perfect cake ball texture is crucial for making delightful Starbucks-style cake pops. You need to master cake crumbling and balance the cake pop mixture. Let’s explore the details.
Proper Cake Crumbling Technique
Start by letting your baked cake cool completely. Then, use a fork to gently crumble it into fine pieces. Make sure not to over-mix, as it can make the texture dense and doughy. You want a light, airy crumb that will mix well with the frosting.
Achieving the Right Consistency
- In a large bowl, mix the crumbled cake crumbs with just enough vanilla frosting to make a dough-like cake pop mixture. It should be like play dough – easy to shape but firm.
- Don’t overwork the mixture or add too much frosting. This can make it too sweet and cloying. The cake ball texture should be light and delicate.
- After blending well, cover and chill the mixture in the fridge for 30 minutes to 1 hour. This will firm it up, making it easier to shape into balls.
With these tips, you’ll be on your way to making the ideal cake ball texture for your homemade Starbucks-style cake pops. The secret is finding the right balance between cake crumbs and frosting.
Coating and Decorating Tips
Making the perfect cake pop is all about the coating and decorating. You can use candy melts from the store or make your own cake pop coating. The goal is to get a smooth finish that looks good and tastes great.
To start, melt your candy melts as the package says. If you want it thinner, add 1-2 teaspoons of vegetable oil. Then, dip each cake pop into the melted coating. Tap off any extra to avoid drips.
- Use a tall, skinny jar or glass for easier dipping to fully submerge the cake pops.
- Decorate immediately with sprinkles, crushed cookies, or other toppings before the coating sets.
- Experiment with different decorating techniques, such as drizzling, dipping, or piping patterns for a professional-looking finish.
Getting the cake pop coating right is all about temperature. If it gets too thick, just heat it up again. With a bit of practice and these tips, you’ll make cake pops that look like they came from Starbucks.
Common Mistakes to Avoid
Making perfect cake pops is fun, but you must avoid common mistakes. One big issue is temperature control. The chocolate should not get hotter than 130 degrees Fahrenheit when coating. If it does, the chocolate will burn and become thick, ruining the look and feel.
Temperature Control Issues
To keep the temperature right, use a double boiler to melt the chocolate. This method heats the chocolate slowly and evenly. Or, you can use the microwave, but be careful not to overheat the chocolate.
Coating Problems and Solutions
Another problem is keeping the cake pops on their sticks while coating. To solve this, dip the sticks in melted chocolate before adding the cake. This makes the cake stick to the stick better.
Also, let the cake pops warm up a bit before coating. This prevents the chocolate from cracking. By fixing these issues, your cake pops will be as good as those from Starbucks.
| Common Cake Pop Mistakes | Solutions |
|---|---|
| Overheating the chocolate coating | Use a double boiler or microwave with caution to keep the chocolate below 130°F |
| Cake balls falling off the sticks | Dip the sticks in melted chocolate before inserting them into the cake mixture |
| Cracking in the chocolate coating | Allow the cake pops to come to room temperature briefly before dipping |
By fixing these common cake pop troubleshooting problems and using the best baking tips, you can get amazing coating results. Your homemade cake pops will be as good as those from Starbucks.
Storage and Shelf Life
Keeping your homemade Starbucks-style cake pops fresh is key. The right storage can make them last longer. Let’s look at the best ways to keep your cake pops tasty.
At room temperature, your cake pops can last 3 days in an airtight container. For longer, refrigeration is best. They can stay fresh in the fridge for 2 weeks to a month.
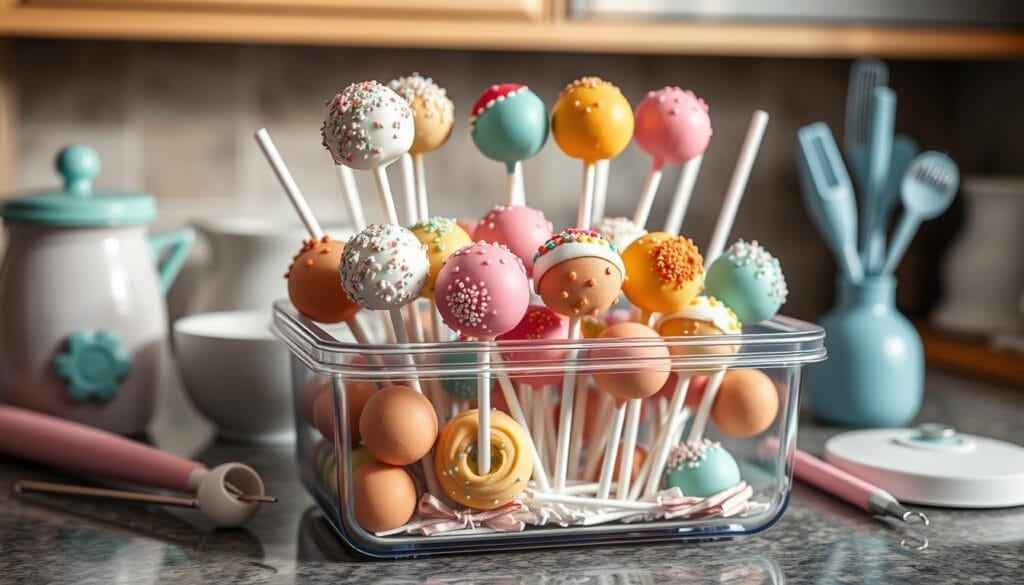
If you want to keep them even longer, the freezer is your ally. Frozen cake pops can last up to 3 months. Just make sure to use an airtight container or vacuum-sealed bag to avoid freezer burn. Thaw them in the fridge overnight before enjoying.
Dipped cake pops last longer than plain ones. Their coating keeps them fresh for 3-4 days at room temperature. They can last 1-2 weeks in the fridge.
Proper cake pop storage, dessert preservation, and freshness tips are crucial. With these tips, you can enjoy your cake pops for weeks.
“The key to preserving the freshness and quality of your cake pops is proper storage techniques. Follow these guidelines, and you’ll be enjoying your delectable treats for weeks to come.”

By following these storage tips, your Starbucks-style cake pops will stay fresh and delicious. You can enjoy their irresistible flavors whenever you want.
Creative Variations and Flavors
Unleash your inner artist and explore a world of possibilities with cake pop flavors. There’s more than just chocolate and vanilla. Try red velvet, funfetti, or seasonal treats like peppermint during the holidays.
Seasonal Decorating Ideas
Make your themed desserts festive with seasonal decorations. For Christmas, use red and green sprinkles, crushed candy canes, or edible glitter. Easter calls for pastel shades and whimsical designs. Halloween is perfect for spooky orange and black hues, ghosts, or spider webs.
Alternative Coating Options
Don’t stick to the traditional candy melt coating. Try dipping your holiday treats in dark or white chocolate for a fancy look. You can also use chopped nuts, shredded coconut, or crushed cookies for extra texture.
The beauty of homemade cake pops is their endless possibilities. Let your creativity shine and make unique treats that will wow your loved ones.
Making Cake Pops for Special Occasions
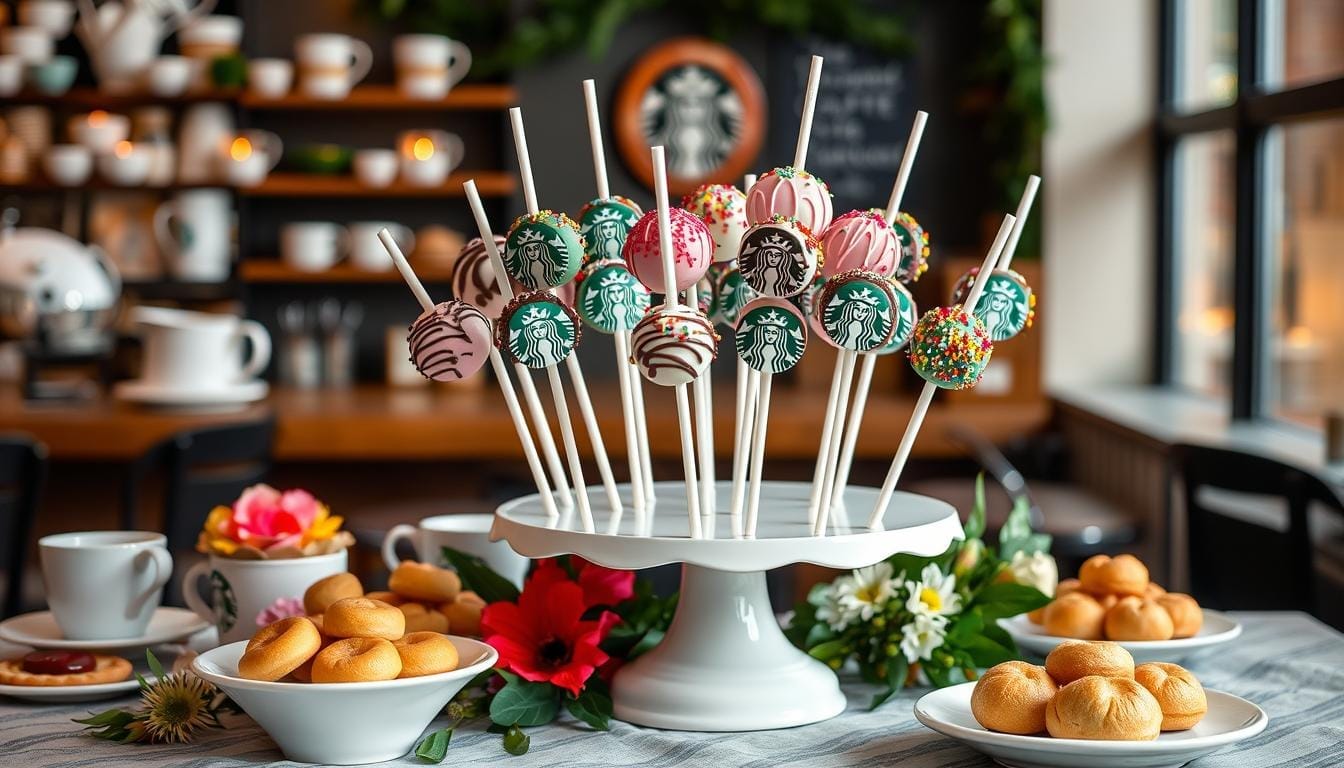
Make your party desserts special with homemade Starbucks-style cake pops. They’re great for birthdays, baby showers, weddings, and more. You can change the colors and decorations to fit your party theme. Package them in clear bags with ribbons for edible gifts everyone will enjoy.
This recipe makes about 15 cake pops, perfect for a stunning dessert table. Just arrange them on a display stand for a beautiful presentation.
- Follow the Starbucks Cake Pop recipe. You’ll need vanilla cake mix, French vanilla frosting, light pink candy melts, and white sprinkles.
- Chill the cake balls in the freezer for 30 minutes or the fridge for 2 hours. This helps them set up before dipping.
- Dip the cake balls in melted candy melts. Sprinkle with white sugar pearl sprinkles for a festive look.
- Place the finished cake pops on a display stand or in clear bags with ribbons. This makes edible gifts for your guests.
These celebration treats are easy on the wallet. You can make a whole batch for the cost of a few store-bought pops. Plus, you can customize flavors and decorations to impress at any event.
| Ingredient | Quantity |
|---|---|
| Vanilla Cake Mix | 15.25 oz |
| Vanilla Frosting | 1 cup |
| Pink Candy Melts | 10 oz |
| Cake Pop Sticks | 40 |
Follow these steps to create a stunning display of party desserts. Try different cake flavors, candy melt colors, and decorations to make them your own.
Conclusion
Learning to make homemade Starbucks-style cake pops is a fun DIY project. It lets you enjoy tasty treats without spending a lot. You only need simple ingredients and basic tools to make these desserts.
These treats are great for any time or special events. The Starbucks Cake Pop Recipe is a solid base to start with. With some practice, you can make perfect cake balls, smooth chocolate coatings, and beautiful designs.
Start your DIY dessert journey with this article’s guide. Let your creativity shine by trying new flavors and designs. Enjoy making these treats in your own kitchen.


